
Hard midday sun does not have to ruin your product shots or portraits. These seven fixes cost little to nothing and work with gear you already own.
This guide is general information for creators and businesses in the U.S., not legal advice. Copyright, licensing and drone rules depend on the facts and change over time; check the Copyright Office, the FAA or a lawyer for your situation.
Quick notes
- Midday sun sits directly overhead and casts harsh shadows that emphasize pores, blemishes and wrinkles.
- Open shade, sheets and tree cover diffuse the sun before it hits your subject.
- A white board or reflector bounced into the shadows fills them without extra lights.
- Backlighting, or placing the sun behind your subject, cuts squinting and adds a bright edge.
- Shooting an hour before sunset gives you lower, softer and more manageable shadows.
Bright sun at noon can turn a simple outdoor shoot into a fight with your own camera. Faces squint, product shots grow hard black shadows, and every patch of skin shows texture you would rather soften. The good news is that sunlight is not something you have to accept as is. With a few cheap moves, you can change how it reaches your subject before it ever becomes a problem.
1. Understand Why Midday Sun Looks Harsh
Midday is the one time most photographers advise against shooting outdoors, and the reason is simple: the sun sits directly overhead. That overhead angle casts harsh shadows in awkward places, such as under the chin and around the eyes.
Hard light also exaggerates small details. Blemishes, pores, makeup smudges and wrinkles all become more visible under direct sun, which is the opposite of what most clients want from a portrait. Bright sun causes another problem that has nothing to do with the camera: people squint, and squinting reads as uncomfortable in every frame.
There is an exposure trap too. In automatic modes, the camera sees all that bright light and compensates by darkening the whole image, so your subject comes out underexposed with inaccurate skin tones.
2. Move Into Open Shade
Open shade is shade that still faces the bright world, such as the covered edge of a storefront awning, a porch or the shaded side of a building. Your subject stands out of direct sun but still sees plenty of sky and bounced light, so the illumination stays soft and even instead of dull.
Keep your subject between you and the brightest background when you can. If a sunlit wall sits behind a shaded subject, exposing for the face will blow out the background, and exposing for the wall will sink the face into shadow. Watch for dappled light, too. Patches of sun leaking through shade land on faces as hot spots that no amount of editing fixes gracefully.
3. Diffuse the Sun Before It Hits Your Subject
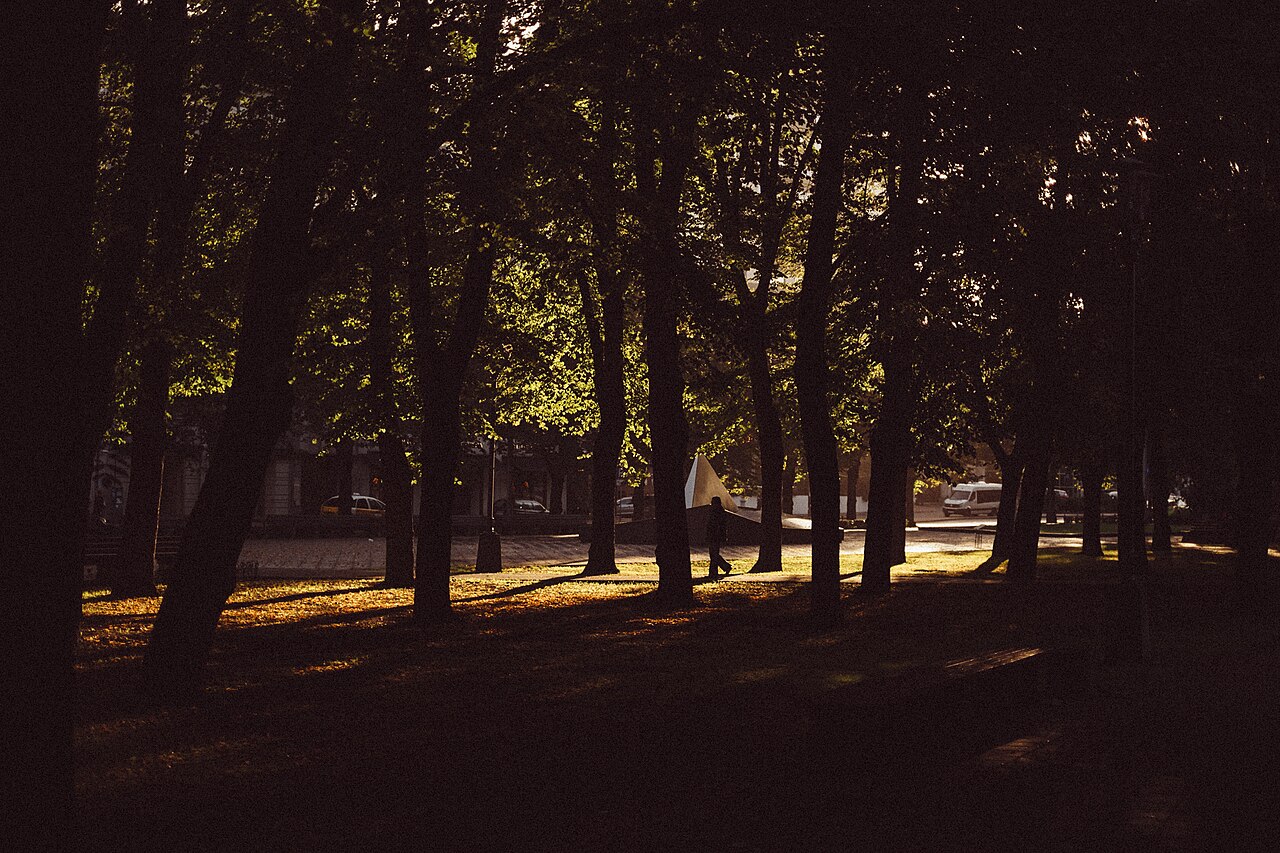
Diffusion works by turning the sun from a small, hard source into a large, soft one. A wide translucent material stretched between the sun and your subject does exactly that, and it is the same principle the leaves of a tree use. Overhead branches break up strong sunlight and add a gentler look that flatters skin tones.
You do not need a branded photography diffuser. A white bedsheet, a translucent shower curtain or a scrap of frosted plastic all work, as long as the material lets light through without adding its own color. Keep some distance between the material and your subject so the light spreads before it lands. Our lighting guide covers more ways to shape light on a budget.
4. Bounce Light Back Into the Shadows
Even with good shade or diffusion, one side of your subject will be brighter than the other. Fill light reduces those shadows, and the cheapest fill is light that already exists. A white foam board, poster board or a reflective car windshield shade, held opposite the sun, kicks light back into the dark side of a face or product.
This is the same logic behind bounce flash, where light is aimed at a wall or ceiling so it arrives soft instead of harsh. Outdoors, your reflector is the surface doing the bouncing. Start with it low and angled up toward the shadow side, then move it closer until the shadows lighten.
5. Turn Your Subject Away From the Sun and Backlight
Instead of fighting the sun, reposition around it. Placing the sun behind or to the side of your subject puts them in a more comfortable stance, which reduces squinting and strain on the eyes. You also get a bright rim of light along hair and shoulders that separates the subject from the background.
With the subject between you and the sun, expose for their face or product rather than the bright background. If the shadows get too deep, bring in your reflector from the last section for fill. An alternative worth trying when no modifiers are available: have the subject face the sun so the face is evenly lit, with a small shadow under the jaw. It is flattering, but hard on the eyes, so use it in short bursts.
6. Shoot When the Sun Is Low or Behind Clouds
The most reliable fix costs nothing: change the time. When the sun sits a bit lower in the sky, the shadows and lighting become far more manageable. The hour before sunset, often called the golden hour, is a favorite time for portraits for exactly this reason, and early morning works the same way.
Client schedules do not always allow it, which is why the other techniques in this list exist. But when you control the calendar, book the shoot for early or late rather than midday and let the sun do the softening for you.
7. A Quick Exposure and White Balance Check
Studio tip: Start around ISO 100 and 1/400 of a second at f/4 in direct sun, then adjust from there and keep an eye on your histogram.
In harsh light, work in manual mode so you expose for skin tones instead of letting the meter guess. Blown highlights cannot be recovered, so protect the brightest areas first. Shooting in RAW helps here, because it preserves the sensor data and gives you room to adjust a stop or more without losing detail.
Intense sunlight also saturates surrounding colors and can introduce unwanted casts, especially from greenery bouncing into shaded skin. Check your white balance against the actual light, not the preview screen.
Harsh sun is manageable once you treat it as raw material instead of an obstacle. For the editing half of the job, our photo editing basics walk through corrections and exports, and our shooting guides cover the rest of the process from setup to final files.
Related reading: Diffuse Harsh Light With Household Items and 5 Ideas for Bouncing Light With Reflectors You Already Own.
FAQs
Why does my camera underexpose people in bright sunlight?
In automatic modes, the camera sees all the bright light in the frame and compensates by darkening the whole image, which leaves your subject too dark. Manual mode lets you expose for skin tones instead.
Can I recover blown highlights when editing?
No. Once highlights are blown out in camera, that detail is gone. Watch your histogram and expose so the brightest areas stay within range.
What can I use as a diffuser if I have no photography gear?
A white bedsheet, a translucent shower curtain or similar household items stretched between the sun and your subject will soften the light. Keep some space between the material and your subject so the light has room to spread.
Is shooting in direct sunlight always a mistake?
Not necessarily. Backlit and sidelit shots taken with the sun behind or beside the subject can look intentional and dramatic, especially when you expose for the subject.